
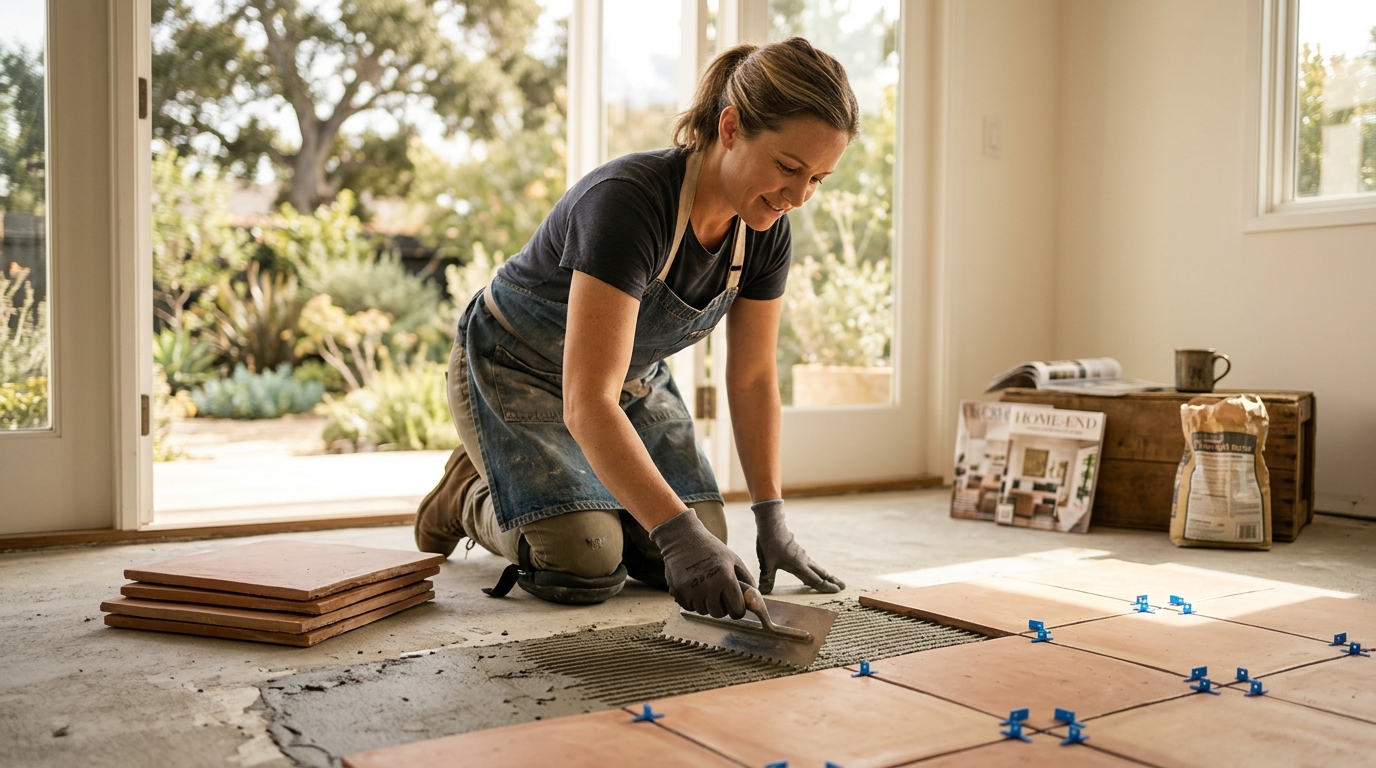
Can I Install Tile Flooring Myself, or Do I Need a Professional in Southern California?
Home improvement projects in Southern California often begin with a simple question about feasibility and cost. According to recent industry data, approximately 30% of homeowners attempt major flooring installations themselves, yet nearly 40% of those projects result in costly repairs due to improper subfloor preparation or material failure. This statistic highlights a critical reality: while tile flooring offers unparalleled durability and aesthetic appeal, its installation complexity varies drastically based on the specific environment. In a region characterized by diverse microclimates, from the humid coastal zones of Orange County to the arid inland valleys, the margin for error is slim. Understanding the technical requirements of tile installation is essential before picking up a trowel.
The Real Challenges of DIY Tile Installation
Tile installation is frequently misunderstood as a simple matter of laying down squares. In reality, it is a multi-layered engineering process. The foundation of any successful tile job is the subfloor. If the subfloor is not perfectly level, clean, and structurally sound, the tile will crack. This phenomenon is known as "deflection," where the floor flexes under weight, breaking the bond between the mortar and the tile.
For the DIY enthusiast, the learning curve is steep. You must master the art of mixing thin-set mortar to the correct consistency. Too wet, and the tiles slide out of place. Too dry, and the bond fails. Furthermore, cutting tile requires specialized tools. A manual snap cutter works for straight lines on ceramic, but porcelain and natural stone often require a wet saw to prevent chipping. Without experience, waste can exceed 20%, significantly driving up material costs.
Another critical aspect is the grout line. Consistent spacing is vital for both aesthetics and structural integrity. Grout acts as a buffer, allowing for minor expansion and contraction. If the gaps are inconsistent, the tiles may rub against each other, leading to lippage, where one tile edge sits higher than its neighbor. This creates a tripping hazard and a visually unappealing surface. For those unfamiliar with leveling systems, achieving a flat plane is nearly impossible without professional-grade tools.
Southern California Climate and Subfloor Considerations
Southern California presents unique challenges for flooring that homeowners in other regions might not face. The region's diverse geography means that installation requirements change depending on your specific location. For instance, homes in coastal areas like Irvine or Newport Beach are subject to higher humidity levels. This moisture can penetrate concrete slabs, leading to efflorescence, a white, powdery residue that forms on the surface of the tile and grout. Proper moisture testing is mandatory before installation in these zones.
Inland areas, such as those near the desert, experience extreme temperature fluctuations. These shifts cause materials to expand and contract more aggressively. If you do not use the correct expansion joints, the tile floor may buckle. According to building codes in many Southern California counties, specific moisture mitigation strategies are required for concrete subfloors to prevent adhesive failure. Ignoring these regional nuances can void manufacturer warranties and lead to premature floor failure.
Additionally, the age of your home plays a significant role. Many older homes in Orange County have wooden subfloors that may have settled over decades. A professional installer will assess the joist spacing and subfloor thickness to ensure it meets the L/360 deflection standard. This standard dictates that the floor must not deflect more than a specific fraction of an inch under load. DIYers often overlook this structural assessment, leading to cracked grout lines within months of installation.
DIY vs. Professional Installation: Cost Breakdown
While the upfront cost of DIY seems lower, the total cost of ownership often tells a different story. Let us break down the financial implications of both approaches. Professional installation includes labor, expertise, and warranty protection. DIY installation includes material costs, tool rental or purchase, and the potential cost of errors.
| Factor | DIY Installation | Professional Installation |
|---|---|---|
| Material Costs | Standard retail pricing | Trade discounts (10-20% off) |
| Tool Costs | $200-$500 (rental/purchase) | Included in labor |
| Labor | $0 (your time) | $6-$12 per square foot |
| Waste Factor | 15-25% (high error rate) | 5-10% (optimized cutting) |
| Warranty | Material only | Workmanship + Material |
As shown in the table above, the savings from DIY are often negated by higher waste rates and the inability to access trade pricing. Professional installers, such as those at Hardwood Flooring Depot, have access to bulk pricing from manufacturers like MSI and DuChateau. This allows them to offer competitive total project costs while ensuring higher quality outcomes. Furthermore, the time investment for a DIYer is substantial. A typical 200-square-foot bathroom can take a novice three to five days to complete, whereas a professional team can finish the same job in one day.
When to Hire a Professional Installer
There are specific scenarios where hiring a professional is not just recommended, but essential. First, if you are installing large-format tiles, such as 24x24 inches or larger, the margin for error is virtually zero. These tiles require specialized leveling systems and precise mortar application to prevent lippage. Second, if your project involves complex patterns, such as herringbone or basket weave, the cutting requirements are exponential. A professional can execute these designs with precision that is difficult to replicate manually.
Another critical factor is the type of substrate. If you are installing tile over a wooden subfloor, you must install cement backer board or a specialized uncoupling membrane. This process requires specific fastening techniques and taping methods. If the membrane is not installed correctly, the tile will crack. Additionally, if you are working in a wet area, such as a shower or steam room, waterproofing is paramount. Professionals use liquid-applied membranes or sheet membranes to create a watertight seal, preventing mold and structural damage.
Finally, consider the value of your home. In the Southern California real estate market, high-quality finishes are a significant selling point. A poorly installed tile floor can detract from the home's value and raise red flags during inspections. A professional installation ensures that the work meets local building codes and industry standards, providing peace of mind and protecting your investment. For expert guidance on material selection and installation, you can explore the resources available at Hardwood Flooring Depot's Blog.
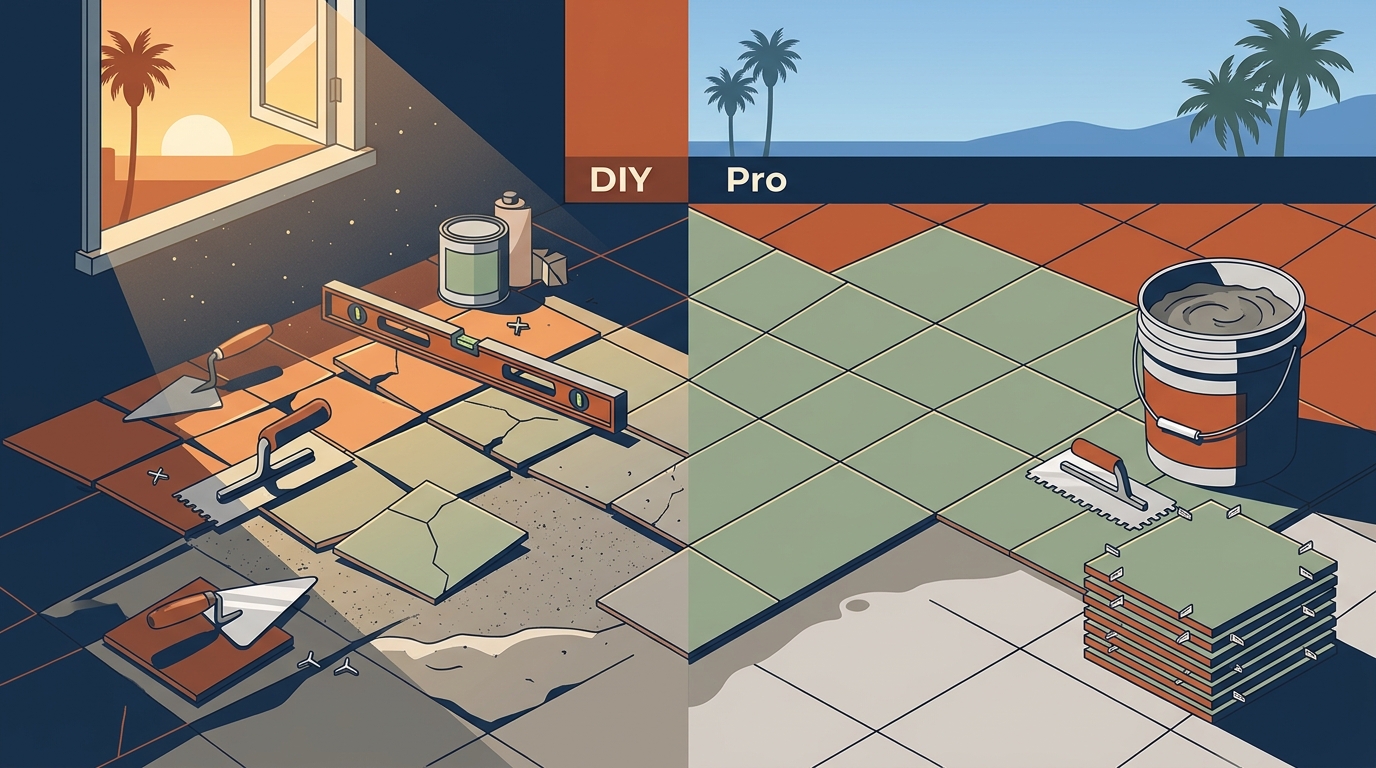
Comparing Installation Methods
Understanding the different installation methods can help you decide if DIY is feasible. The most common method is the thin-set mortar technique. This involves spreading a layer of mortar on the subfloor, combing it with a notched trowel, and pressing the tile into the mortar. This method requires a steady hand and experience in judging the "open time" of the mortar. If the mortar skins over before the tile is set, the bond will fail.
An alternative method is the dry-set mortar, which is often used for larger, heavier tiles. This method requires a mix of sand and cement, providing a more rigid base. However, it is heavier and more difficult to work with. Another modern approach is the use of pre-mixed adhesive, which is easier for DIYers but generally less durable for wet areas or high-traffic zones.
Grouting is the final step in the installation process. Sanded grout is used for joints wider than 1/8 inch, while unsanded grout is used for narrower joints or smooth surfaces like glass tile. The grouting process requires patience. You must apply the grout, let it haze over, and then carefully wipe it clean without pulling it out of the joints. Rushing this step can result in a cloudy finish that is difficult to remove. For those interested in learning more about specific materials, you can view the Mediterranean Collection details to understand how material choice impacts installation complexity.
Key Takeaways
- Subfloor Integrity is Critical: A deflection-free subfloor is the most important factor in preventing tile failure.
- Climate Matters: Southern California's humidity and temperature swings require specific moisture mitigation strategies.
- Tool Investment: DIYers must budget for wet saws, trowels, and leveling systems, which can cost hundreds of dollars.
- Waste Reduction: Professionals reduce material waste by up to 15% through optimized cutting techniques.
- Warranty Protection: Professional installation often includes workmanship warranties that DIY projects cannot match.
- Complex Patterns: Herringbone and mosaic tiles are highly discouraged for DIY due to extreme cutting requirements.
- Regional Codes: Local building codes in Orange County may mandate specific moisture testing for concrete slabs.
Frequently Asked Questions
Is it hard to install tile flooring yourself?
Installing tile flooring is moderately difficult. It requires precision in subfloor preparation, mortar mixing, and cutting. While simple ceramic tiles in a small room are manageable, complex layouts or large formats are challenging for novices.
How much does it cost to hire a professional tile installer in Southern California?
Professional tile installation in Southern California typically ranges from $6 to $12 per square foot for labor, depending on the complexity of the pattern and the type of tile. Material costs are additional.
Can I install tile over existing flooring?
In most cases, no. Tile must be installed on a stable, rigid substrate. Installing over existing vinyl or wood can lead to failure unless specific underlayment is used, which is rarely recommended for long-term durability.
What is the best tile for Southern California homes?
Porcelain tile is highly recommended for Southern California due to its low water absorption rate and resistance to temperature fluctuations. Natural stone also performs well but requires more maintenance.
How long does it take to install tile flooring?
A professional can install tile in a standard bathroom in one to two days. A DIY project may take three to five days, including drying time for mortar and grout.
Do I need to seal natural stone tile?
Yes, natural stone tiles like marble and travertine are porous and must be sealed regularly to prevent staining and moisture damage. Porcelain and ceramic tiles generally do not require sealing.
What is lippage in tile installation?
Lippage is the uneven height difference between the edges of adjacent tiles. It is often caused by improper leveling during installation or warping of the tile itself.
Schedule Your Consultation
Ready to transform your home with high-quality flooring? Whether you choose to DIY or hire a professional, the materials you select are crucial. Visit Hardwood Flooring Depot to explore our extensive collection of premium tiles, hardwood, and accessories. Our experts in Irvine can help you choose the right products for your specific climate and design needs. Contact us today to schedule a consultation and ensure your flooring project is a success.